Subtract Edit before you add
Clear every surface completely. Every object goes into a box, and comes back only if it passes the test William Morris set out in his 1880 lecture "The Beauty of Life": "Have nothing in your houses that you do not know to be useful, or believe to be beautiful." What fails the test is donated, stored or moved to a room where it serves a purpose. Styling a cleared surface takes minutes; styling around clutter takes forever.
Hang Hang art at eye level
The most common styling mistake is art hung too high, floating near the ceiling and disconnected from the furniture below. Galleries generally centre work around eye level. Use these measurements as a starting point and adjust for very high ceilings.
Situation Metric Imperial Centre of artwork from floor 145–152 cm 57–60 in Gap above sofa back 15–25 cm 6–10 in Art width over furniture ≈ 2/3 of piece ≈ 2/3 of piece Gap between frames in a group 5–8 cm 2–3 in For a gallery wall, cut paper templates of each frame, tape them up and adjust for a few days before a single nail goes in.
Compose Group in odd numbers and varied heights
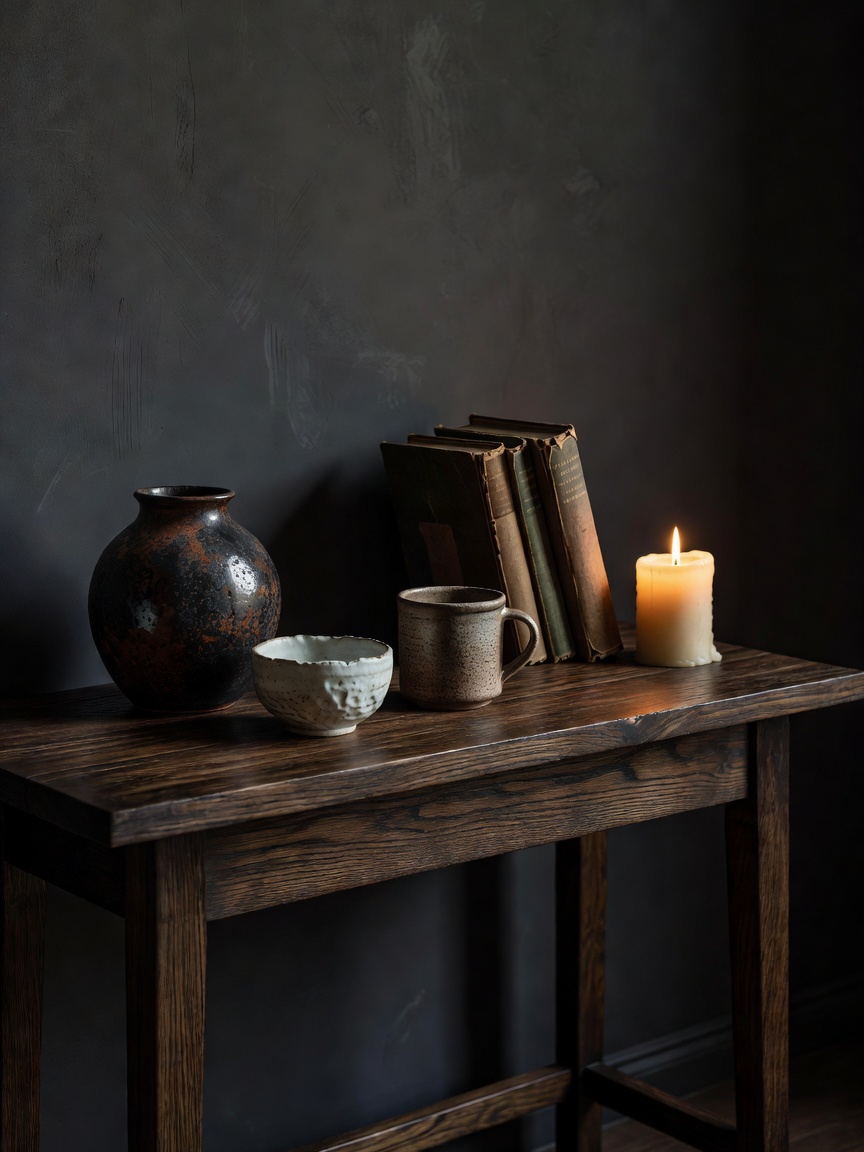
Objects arranged in threes or fives feel more natural than pairs, which read as formal and symmetrical. Vary height so the eye travels: a tall vase, a medium stack of books, a small bowl, forming a loose triangle. Mix the materials you chose in the previous step — ceramic beside brass, glass beside oak — and leave space around the group so it can breathe.
Soften Layer textiles with intent
Cushions, throws and curtains are where colour from your palette's 10% accent can live. On a sofa, combine two or three cushion sizes (for example 50 cm and 40 cm squares and one lumbar) in a mix of plain, textured and patterned covers. Hang curtains from close to the ceiling and let them just kiss the floor; it makes windows and ceilings feel taller. A throw folded over one arm looks lived-in; one on every seat looks staged.
Living Bring in something alive
Plants add movement and soften hard edges, but they must match the light you mapped earlier. A fiddle-leaf fig wants bright, indirect light near a window; a snake plant (Dracaena trifasciata) and a ZZ plant tolerate dim corners; a trailing pothos suits a high shelf. Choose pots in materials already in the room so plants belong to the palette rather than interrupting it. Fresh branches in a heavy vase are a beautiful seasonal alternative.
Dusk Style for the evening
Most people spend their longest hours at home after dark, so check the styled room at night. Switch off the ceiling light. Turn on the lamps, perhaps a candle. Notice which objects glow and which disappear. A picture light, a small lamp on a bookshelf or a candle in front of a mirror can reveal the textures you chose with such care. Timer plugs make the evening scene switch on by itself.
Time Leave room to grow
A finished room should still have a little space left: an empty hook, a shelf only half-filled. Designer Ilse Crawford, in A Frame for Life, argues that homes should support how we live rather than how we pose. Collect slowly — a ceramic from a holiday, a print from a local artist — and let the room record your life.
That completes the sequence. Return to the start whenever you tackle the next room; the order works for every one.
Questions? Design Questions
Answers to the queries the studio hears most often.
Read the FAQ
Home / Step 04 of 04
Styling the Finished Room
Styling is where most people begin, and why so many rooms feel like a shop window rather than a home. Done last, on top of a solid plan, good light and honest materials, it becomes the easy part: a few careful moves that make the room unmistakably yours.