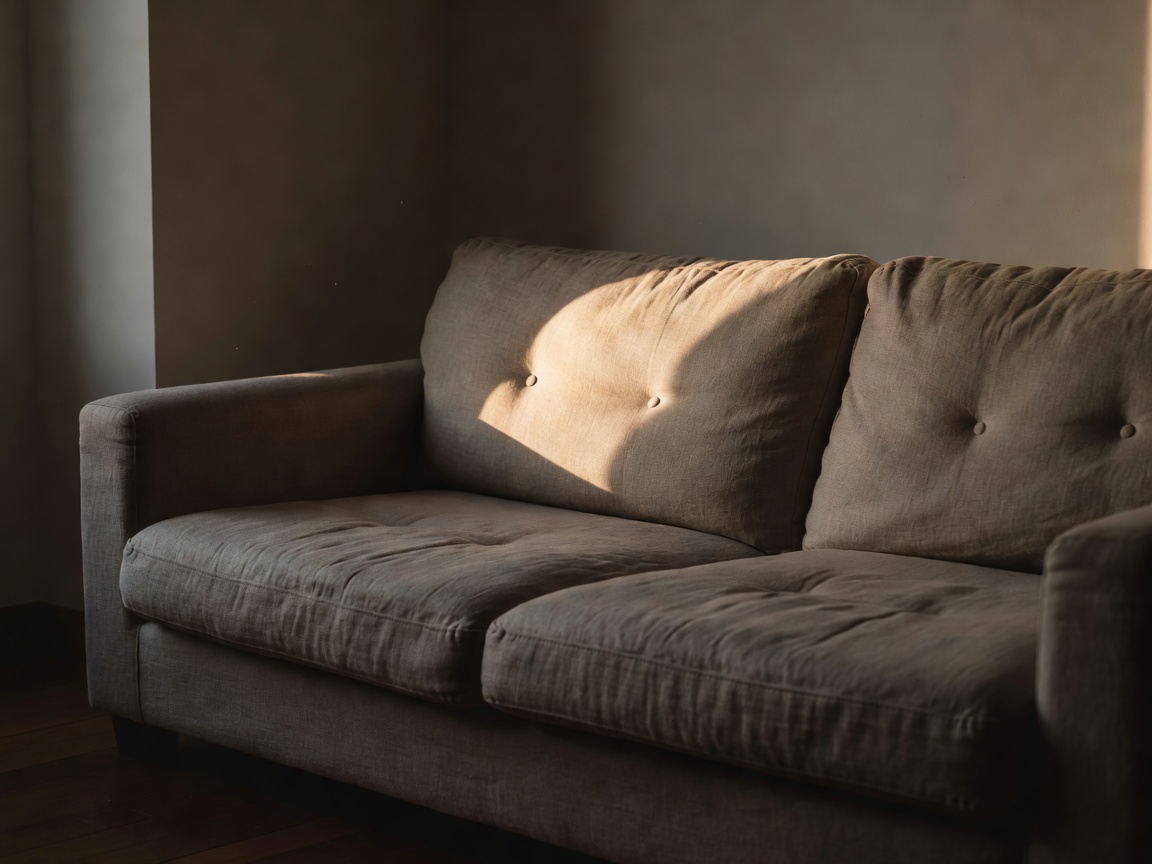
Contact Start with the touch points
List the surfaces your body meets every day: the sofa seat and arms, the dining chair, the floor under bare feet, door handles, the bedside table, the edge of the kitchen worktop. These deserve the best materials in the budget, because you will judge the room through them hundreds of times a week. Decorative surfaces — a shelf back, a picture frame — can be cheaper and bolder.
Specification Read the fabric label
Upholstery durability is measured by the Martindale rub test, which counts how many cycles of abrasion a fabric survives. It is one of the most useful numbers on a swatch card, and one of the least read. Also look for OEKO-TEX Standard 100 certification, which indicates the textile has been tested for harmful substances.
Martindale rubs Typical use Suits 10,000–15,000 Light domestic Cushions, occasional chairs 15,000–25,000 General domestic Everyday sofas, dining chairs 25,000+ Heavy domestic Family sofas, pets, children 40,000+ Contract grade Hospitality, very heavy use Linen creases and softens beautifully but marks easily; a linen-cotton or linen-viscose blend calms it. Wool is resilient and naturally flame-resistant. Performance velvets resist stains and catch light at every angle.
Ground Choose the floor next
The floor is the largest horizontal surface and the hardest to change. Solid timber can be sanded many times; engineered boards are more stable over underfloor heating. Look for FSC certification for responsibly sourced wood. Oiled finishes feel warmer and can be spot-repaired; lacquered finishes resist spills but show scratches as a sheen.
Stone and terracotta bring cool weight and age gracefully. Wool rugs then soften acoustics and define the zones you marked in the layout step.
Vertical Give the walls depth
Flat emulsion is practical, but mineral finishes give walls a living surface. Limewash and clay paints dry with subtle cloudiness; lime plaster and Venetian polished plaster carry real relief and sheen. Tadelakt, the waterproof lime plaster from Morocco, works even in showers. Remember the lighting step: raking light from a wall washer or a low lamp will reveal every ripple, which is exactly the point.
Contrast Balance rough and smooth
Texture is relational. Smooth lacquer looks richer beside rough plaster; nubby bouclé looks softer beside polished stone. The Japanese idea of wabi-sabi — beauty in the imperfect and the weathered — and the rooms of Belgian designer Axel Vervoordt both show how worn timber, raw linen and handmade ceramics can sit against crisp modern lines without either losing its voice.
Aim for a deliberate mix: matte and gloss, hard and soft, warm and cool, in every zone.
Restraint Limit the count
Choose three to five principal materials per room and repeat each at least twice. If the coffee table is oak, let oak return in a picture frame or a stool. If the curtains are linen, echo it in a cushion. Repetition turns individual purchases into a single, legible idea. This is texture over clutter in practice.
Proof Live with the samples
Order samples of every final fabric, floor and finish. Lay them together on the floor in the room — never on a shop counter under strip lights — and leave them for a week. Look at them in morning light and under your evening lamps. Sit on the fabric sample. Spill water on the wood offcut. The material that still pleases you on day seven is the right one.
With the room's bones and surfaces settled, the last step is the most personal: styling.
Next · Step 04 Styling the Finished Room
Edit, hang, layer and let the evening light finish the room.
Continue to Styling
Home / Step 03 of 04
Choosing Materials and Texture
Clutter asks for attention; texture earns it. A room with a short list of honest materials — linen, oak, wool, plaster, stone — can be spare and still feel warm, because light has something to hold on to. Here is how to choose them in order, starting with whatever your hands touch most.